

Leaf Man is a delightful book that tells the story of the Leaf Man as he is taken on an journey by the wind. Where is he going? No one is quite sure, but you'll have to follow along with him to be a part of this adventure.
We love Lois Ehlert's books in our home and this book is no exception. We loved the beautiful array of pictures on each page. It was fun spending time exploring each page and seeing what images we could see using leaves. It was also filled with great ideas of what you can do with leaves and also using your imagination. I will definitely be adding this book to our library collection.
Activity: Leaf Crafts
This activity was one that we spread out over a few different days.
#1 - The first part of this was we went on a little trip up the canyon near us to collect some of the beautiful autumn leaves. It was a fun time and it was nice to be in nature and exploring. We came home with some of the most beautiful colors of leaves that I have ever seen.
#2 - The next part, was to dry our leaves out. We gently rinsed them in just water, patted them dry, then laid them between layers of newspaper in between a few trays. These trays were then placed underneath our tool box and we let it sit for a week to make sure they dried completely. The best resource for this was a great book called Look What I Did With a Leaf by Morteza E. Sohi. This book was wonderful! It was filled with instructions and ideas of what to do with leaves and taking care of them. I highly recommend this!
Since the ages of my children are very different we did two different things for each of them.
Sonny Boy's Activity:
We went for a walk down our street collecting some freshly fallen leaves. It was lovely to see the range of colors we were able to collect.
Supplies:
Clear Contact Paper
Leaves (we didn't use dried leaves for this but you can if you prefer)
For Sonny Boy we cut out an 8.5x11 (or whichever size you prefer) out and laid that down in front of him with the sticky side up. I would recommend taping the sides with masking tape to hold it in place.
Then let him create his masterpiece! He had fun picking the leaves and then stamping them down onto the sticky paper. Once he was done with this, we covered the side with the leaves with another sheet of contact paper. It is a lovely piece of art!


Sweetie Pie's Activity:
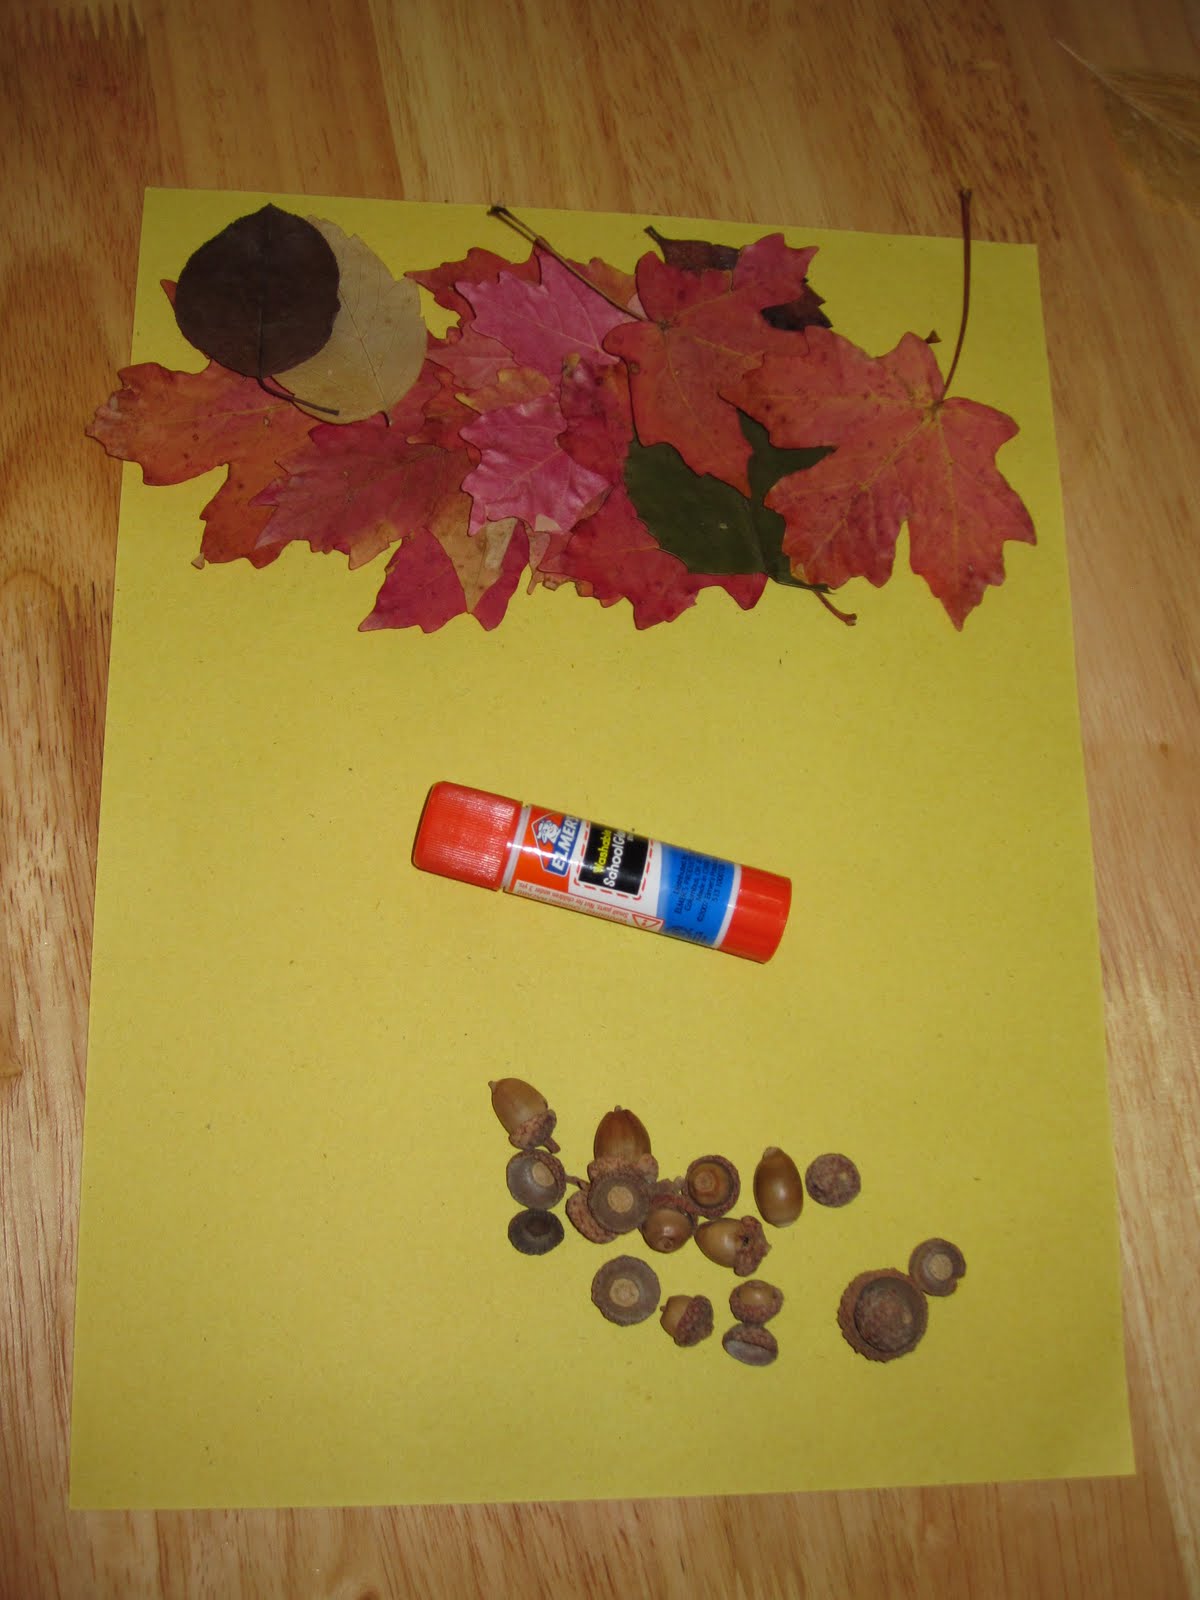
For this activity we used the dried leaves that we had collected. I asked her to decide what picture she wanted to create using the leaves.
Supplies:
Dried Leaves (variety of sizes)
Construction Paper
Glue
Any other little 'gifts' of nature that you find. (We didn't end up using the acorns she had collected)
After reading Leaf Man and also looking through Look What I Did With a Leaf Hannah decided that she wanted to create a Leaf Turtle. She had all the supplies that she needed and she worked away. She was very pleased with the end result.
 Working diligently
 Making the happy face
 Sweetie Pie's Leaf Turtle
 My Gems!


